So my latest blogpost is about the second project after the Babydoll plushie but I don't have have the photos on hand for the one in between, so I'm writing about it anyway out of sequence, messing with my librarian orderly brain. I know. It hurts.
So the sequence of making was :
Who is Clara? Why is Clara?
A while back my friend said that her daughter would like a Clara to go with her 11th Doctor as her Christmas present. I said OK and thought very little of it as Christmas was a while away, and I got on with some other projects and life and stuff. Then recently I was buying presents and I said "What does your daughter want for Christmas." and she said, you agreed to make Clara but it's OK if you can't now. And I was like "no, no, I'll do it."
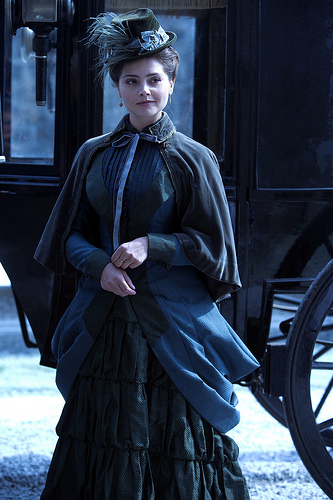
The problem I have is that while Clara/Oswin/whatever dresses very nicely I'm sure, it's not exactly iconic or anything. Her Clara the governess is quite iconic I suppose but I'd just made
Clara Clayton/Brown who is also in a sort of Victorian outfit and I didn't want to have a feeling of deja vu.

I know Clara is less brightly coloured but still once translated into plushie there wouldn't be a ton of difference.
So I had this inspiration - I would do Clara, well not really Clara, Oswin Oswald who is actually a dalek and I would make a dalek that is hollow for her to go in because she's a dalek - see?

It'll be fine I've got plenty of time I told myself and then started slightly frantically sewing.
Making Oswin
I've got to admit that Oswin's outfit wasn't that exciting and I was much more interested in the hollow dalek. As I was working from my own ideas and not a proper pattern, I wanted to finish Oswin as fast as possible in order to know the dimensions of the space I needed to incorporate into the dalek's body. My plushies are all more or less the same size but it's not an exact science and things do vary. Plus I have not kept any of them so I didn't have one to hand to measure with.
Oswin's outfit also had the convenience of my accidental excess purchase of red felt (I've now got miles of the stuff from my perspective). So with only a cursory glance at pictures of Oswin, I set to work.
Having struggled with longer brown hair with Hermione and given up and put on wool I knew I'd be doing the same this time.

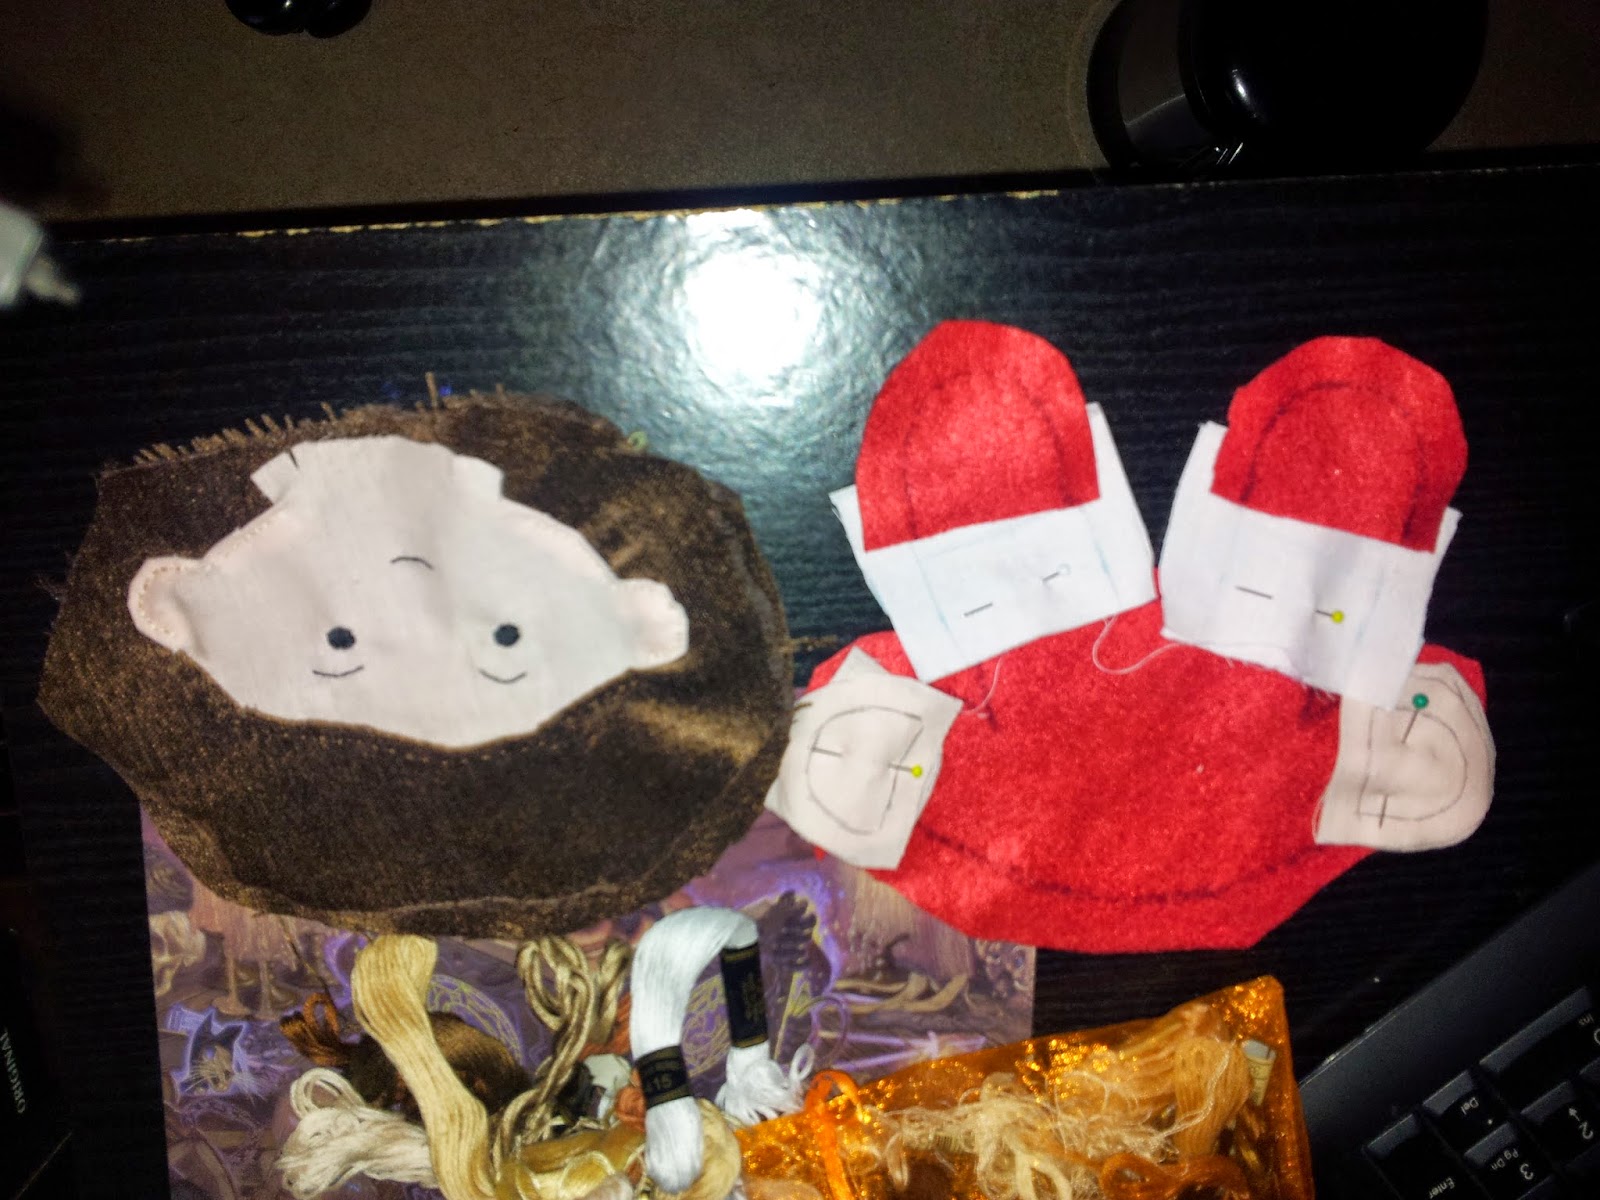
I then started sewing on the wool hair. In my head I though Oswin had a fringe or that Clara did but I hadn't thought too hard about it. As a result I thought I'd done her hair and it looked like this

Doing some research afterwards she has had sort of a long fringe that rarely sits on her forehead.
but the key point is, not as Oswin if you look at the earlier reference image.
I only registered this fact after I'd done the hair. Although I do take mistakes in my stride and of course make choices in my plushies for some reason I just didn't like that I'd got this wrong, so I added further wool to fix her fringe.
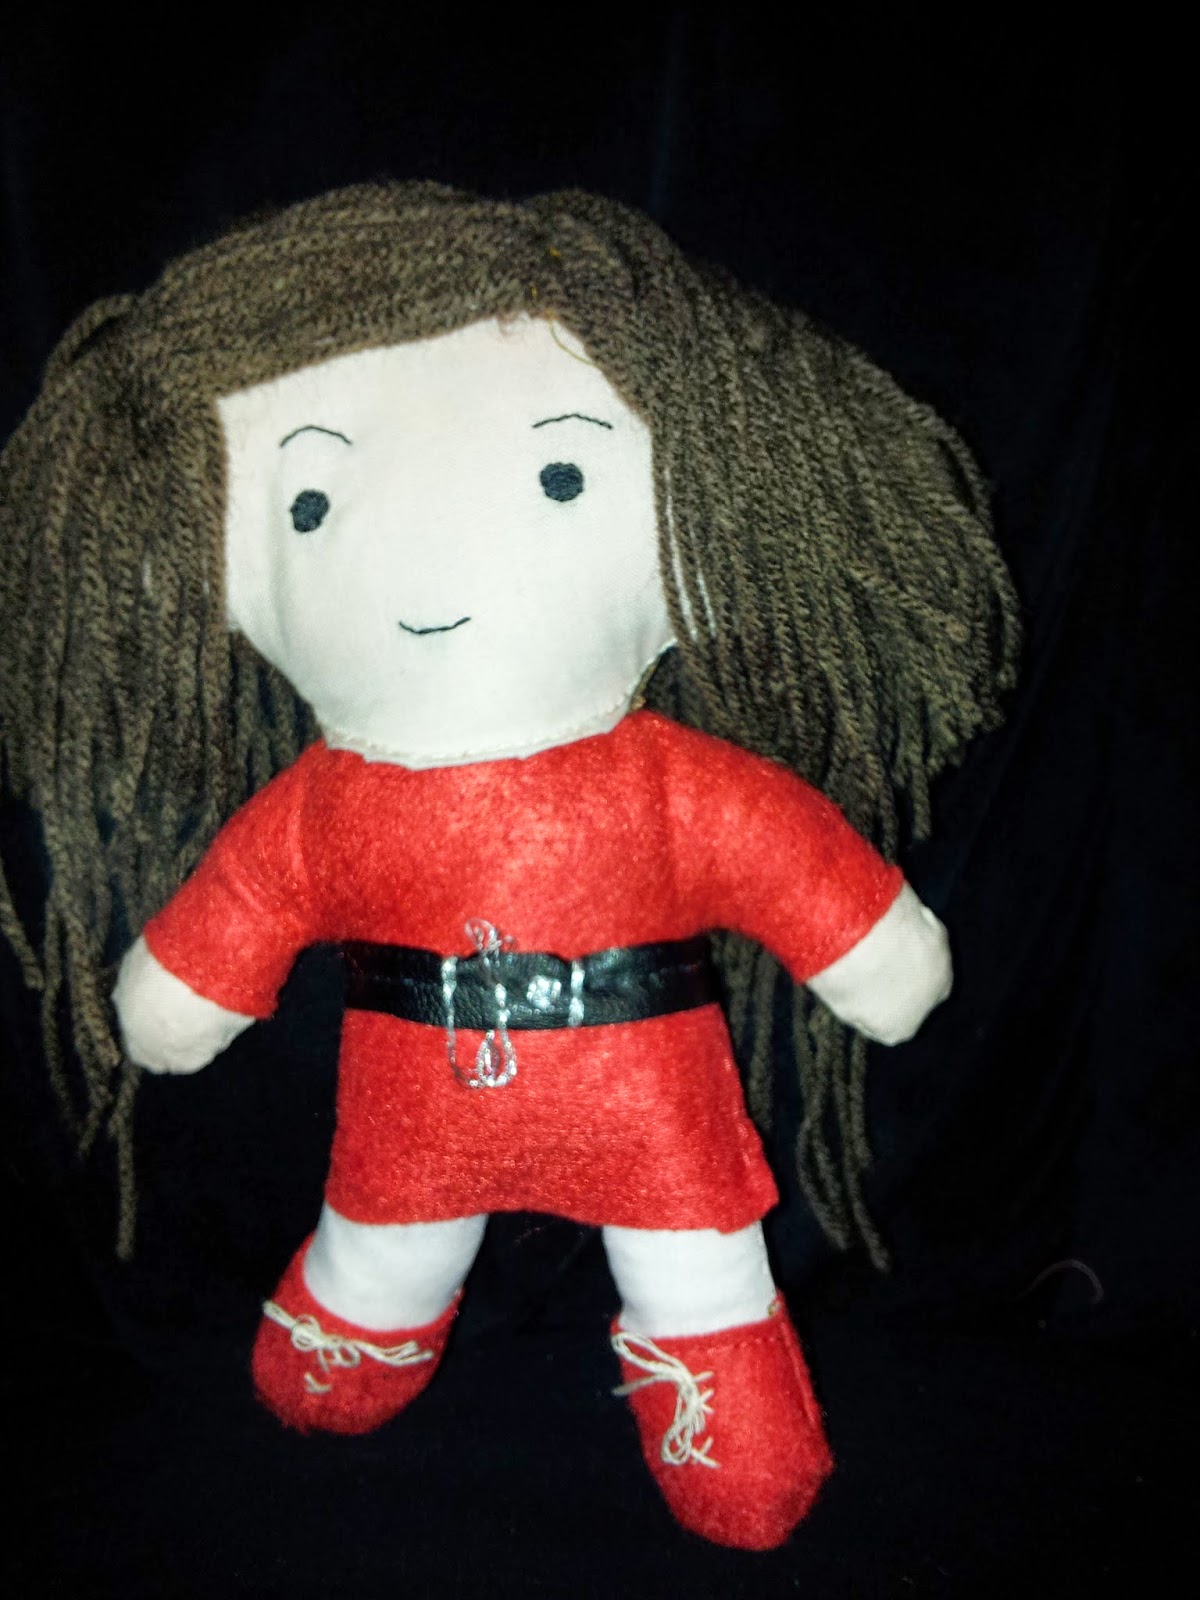
Although this gave Clara rather ridiculously large hair it mainly made me feel better.
Oswin the Dalek
With Oswin made, I moved on to the dalek.
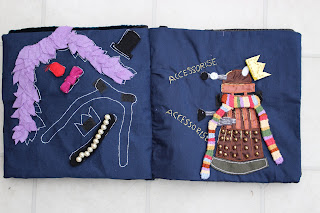
Colour scheme
I knew immediately I would not be making the dalek the real colours of Oswin's dalek or even the most common colour that I remember seeing - the sort of goldy colour with black etc.
I didn't really have the right materials to hand and I didn't have time and also I don't know I just didn't feel like it. I had, however a fair amount of grey felt that I planned to use.
I hunted around for other colour schemes and settled on one with a grey base and black details.
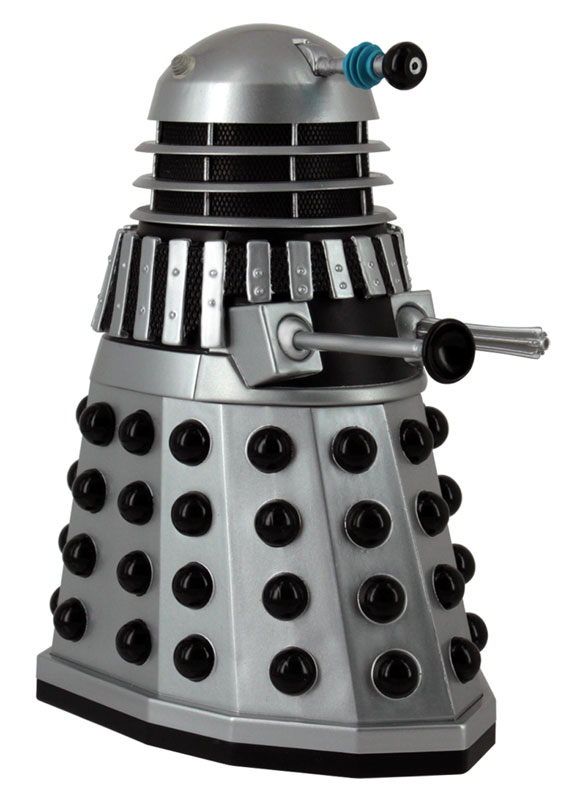
I liked this one, so I based my design on this.
Making the dalek in sections - the main body piece
In making the dalek I confess I kind of made it up as I went along. I wrapped a long piece around the Oswin plushie to get the measurement around her and found the piece I had was a bit short so I added a black bit to the bottom and top which also fit with the design but added height.
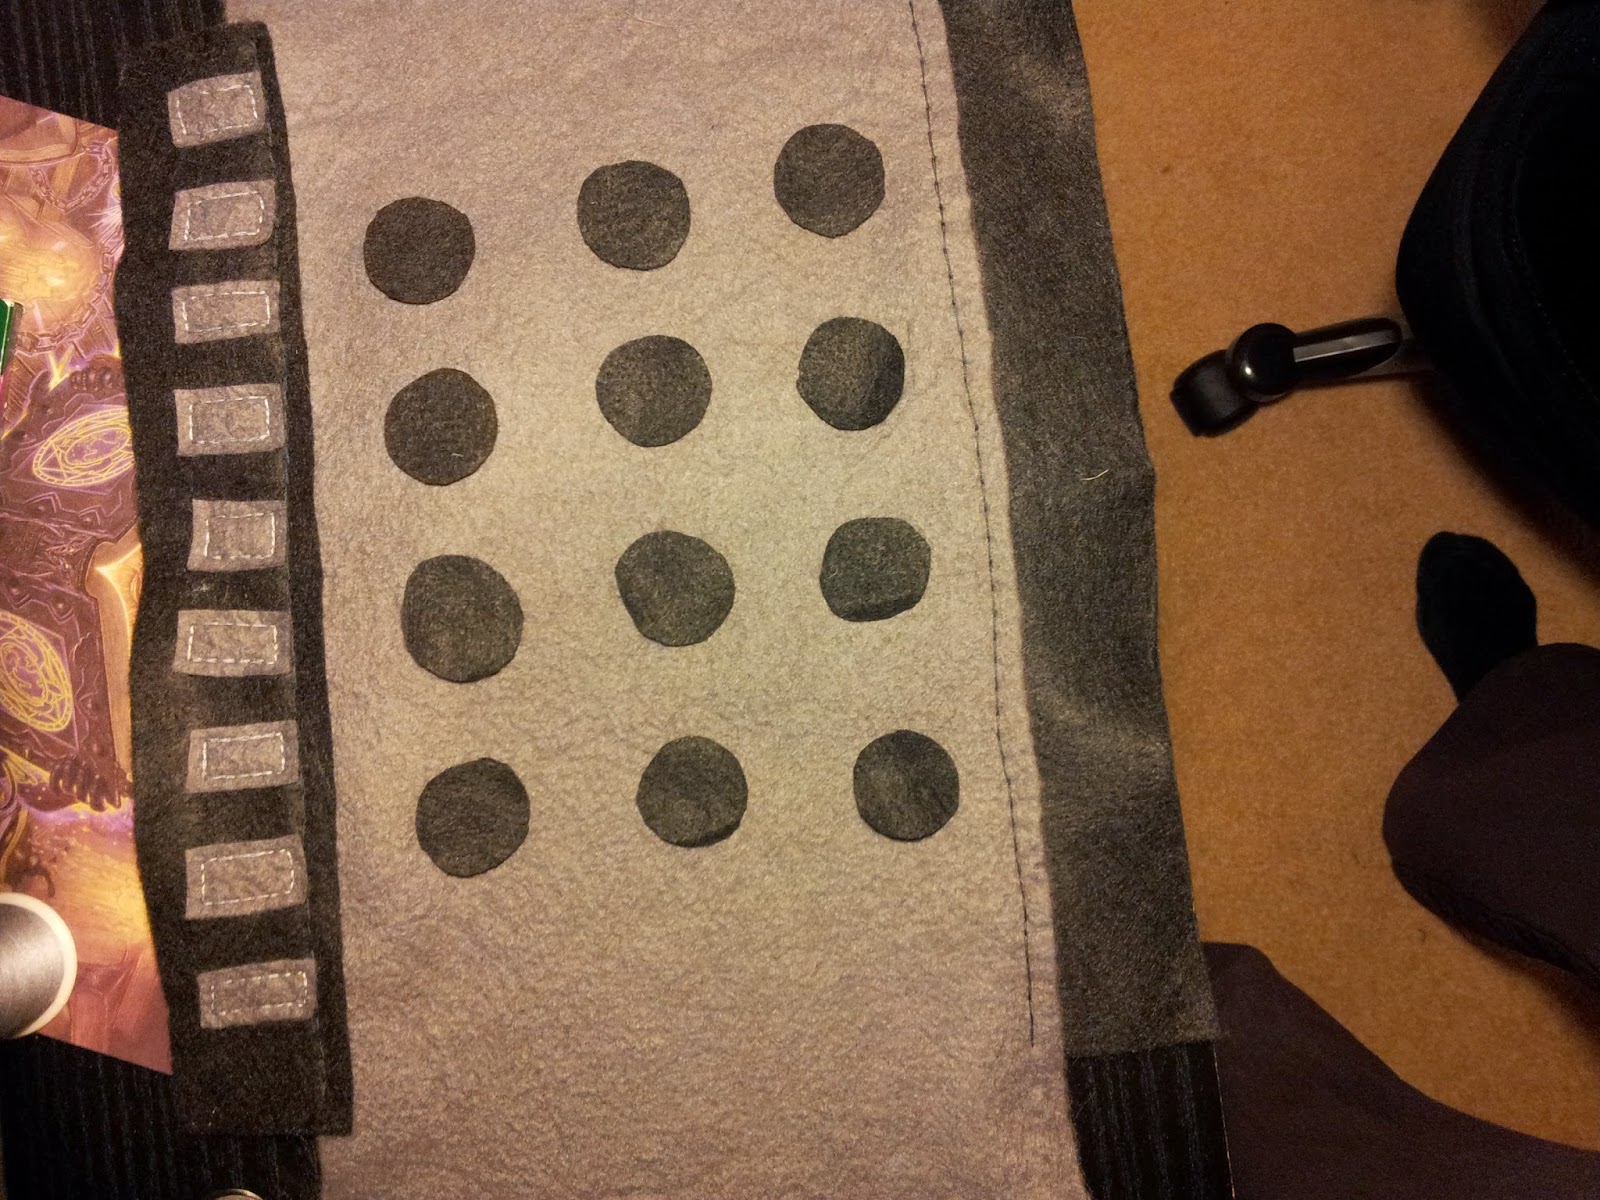
I wanted the hollow dalek to sort of stand up on its own even without the Oswin inside, so I was prepared for it to need some stiffening so after sewing on the black roundels I ironed on interfacing.
Base of the dalek
I then had to work out the base and the head. The head needed to be all of one piece as it's visible but I was prepared for a much less tidy base. I didn't have enough fabric to use one whole piece so I sewed some bits together to make the base and sewed it in.
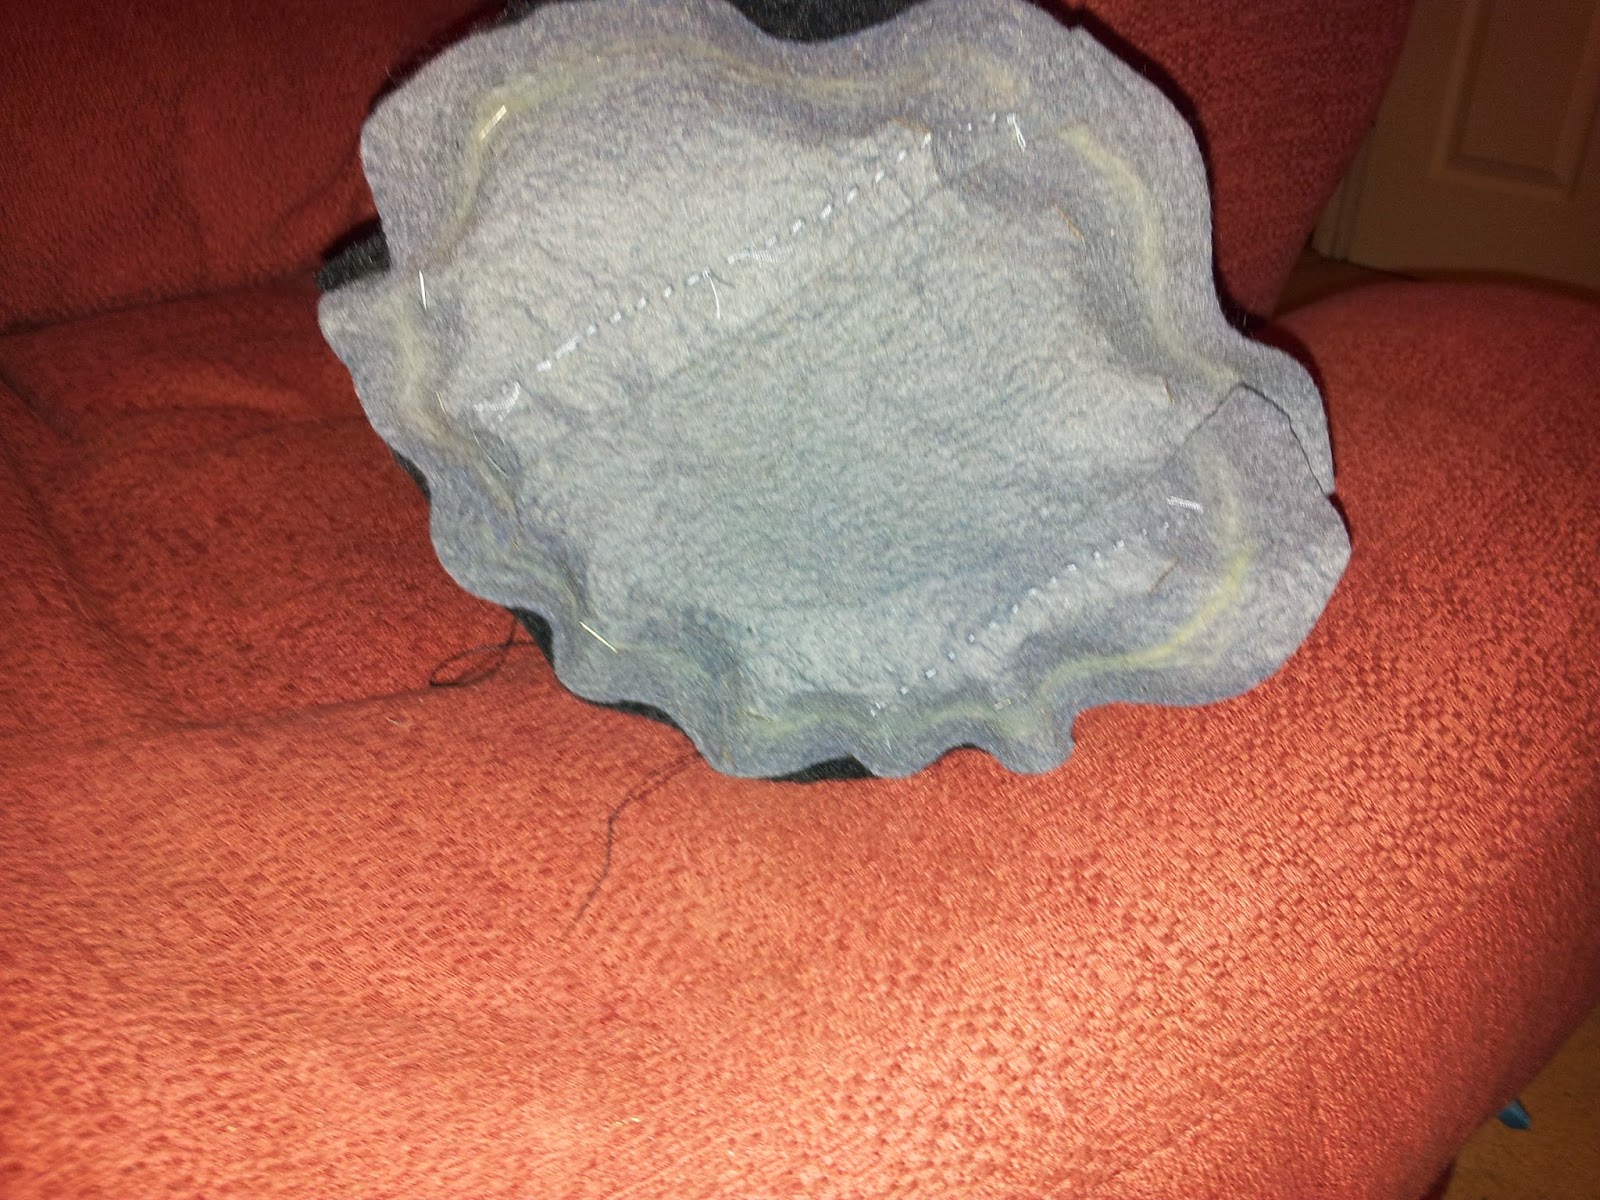
 Dome of the dalek head
The dome of the head was a bit of a puzzle but I basically had one large bit of grey left so that was the maximum curve I could make. I wasn't entirely sure how to make a dome but I figured a circle of fabric with slits in should be able to be overlapped to work and then sewn down, so I tested it with a paper template. This paper circle was the largest size of circle my largest piece of grey felt would be able to cut out.

I then used this as a pattern for the dome. There was not really enough fabric left for the base of the dome so I used a navy material I had plenty of as I figured the base would not be very visible and it would be better for it to be dark. I made a pattern for the base the right size for the hole at the top of the tube for the base and constructed the dome to curve to match the base. I then unpinned the base and sewed up the dome.
For the eye stalk I used a black pipe cleaner, I cut a hole in the dome and sewed it in place. The eye at the end came after. I also made the two antennae things by rolling small pieces of yellow-white felt and sewing them in place.
I then turned the dome inside out and sewed it onto the base. I stuffed the dome and sewed up the last part.

I then sewed the dome into the tube of the dalek body.
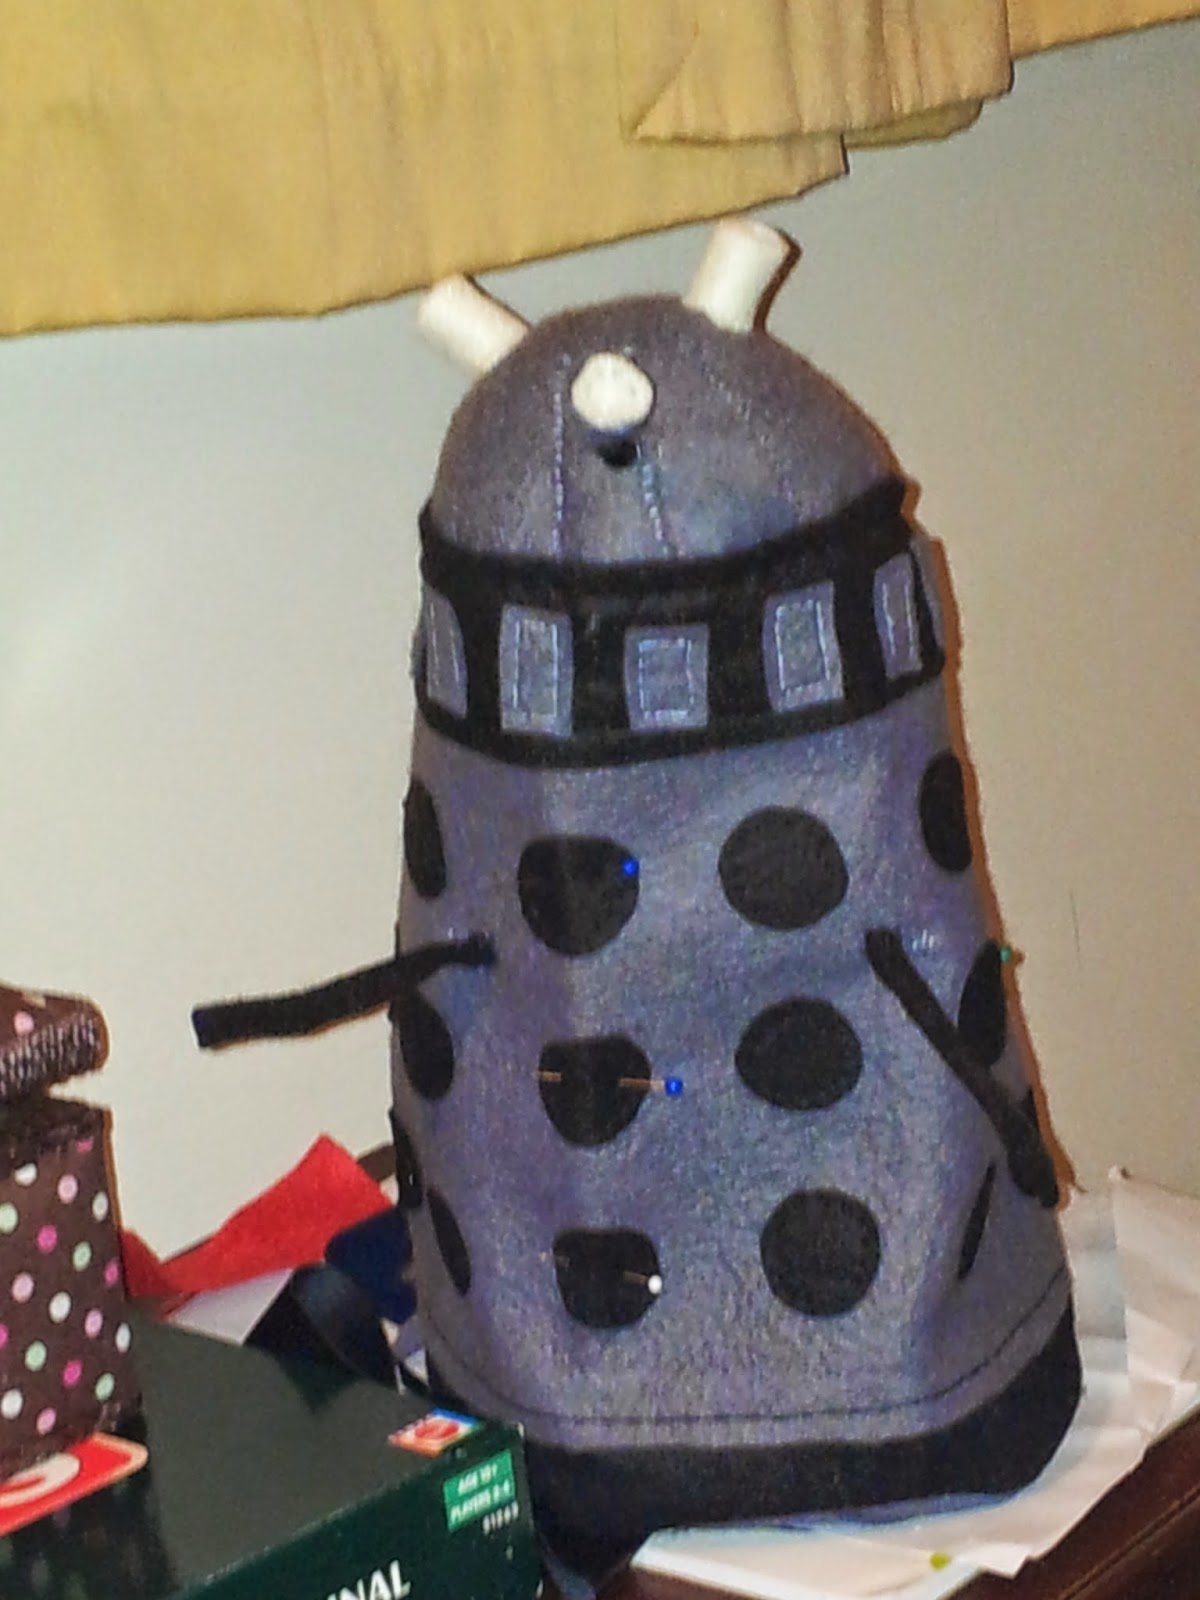
The dalek now needed some arms. Unfortunately I didn't have any more black pipe cleaners. I did try just using blue ones but it didn't look right when I sewed them in place so I made covers out of leftover black felt.

I still wanted some further detail. To make the eye stalk look more accurate I made the end section using a grey circle folded to curve round and sewn into place, and then added a pale yellow white smaller circle for the centre of the eye stalk. To make the bit before that I had a pipe cleaner in the perfect colour which I just wrapped around tightly to create the blob.
 Final details of the dalek
At this point I had found that really interfacing was not enough to hold
the dalek up safely without anything inside. So I sewed in some pipe
cleaners inside to give it some extra strength.
This was a real pain at this stage as I also had to cover the ends which are a bit sharp, and sewing
inside was a bit arm twisting. Fortunately pipe cleaners are also designed to bend so I could bend them the wrong way to get at things.

I used a similar technique as the end of the eye stalk to make the plunger.

The most fiddly bit was making the other ray gun arm details. The strips of thin grey felt were very fiddly to keep in place and sew into place and would have been much less secure if not for the bands of grey felt circling the arm.

End result is a free standing hollow dalek and Clara!


 Page 9 was mostly about small fiddly repetition. I foolishly continued my trend of avoiding felt (partly I'm not sure I had enough, and partly I just I dunno I didn't wanna) but turning inside out 9 tiny adipose was hard work.
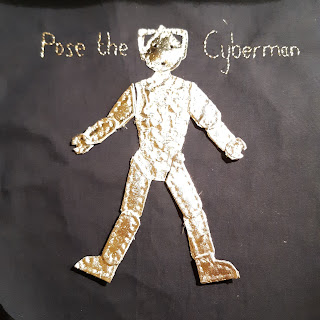
 When I reached the Cyberman I had hitch in that I didn't have a grey or shiny fabric that I wanted to use, I don't have a lot of grey generally anyway really. I had had a scrap of some shiny silver stretch that I'd used a while back for a helmet for Thor but that was all gone and there wasn't a grey I was happy with available in my stash. So I sent out a call and I was really lucky - the friend who gave me that last lot of shiny silver had some more she could give me to use. I also got some other bits of grey from other friends. Which is always useful to have alternatives.