Wednesday 27 April 2016

I'm blue da ba dee da ba die

So my latest requested plushie was Grimmjow Jaegerjacquez - a character from Bleach manga. I confess I was not familiar and had to do some research for details and query others.

He's had a variety of outfits but I think this was the one requested.
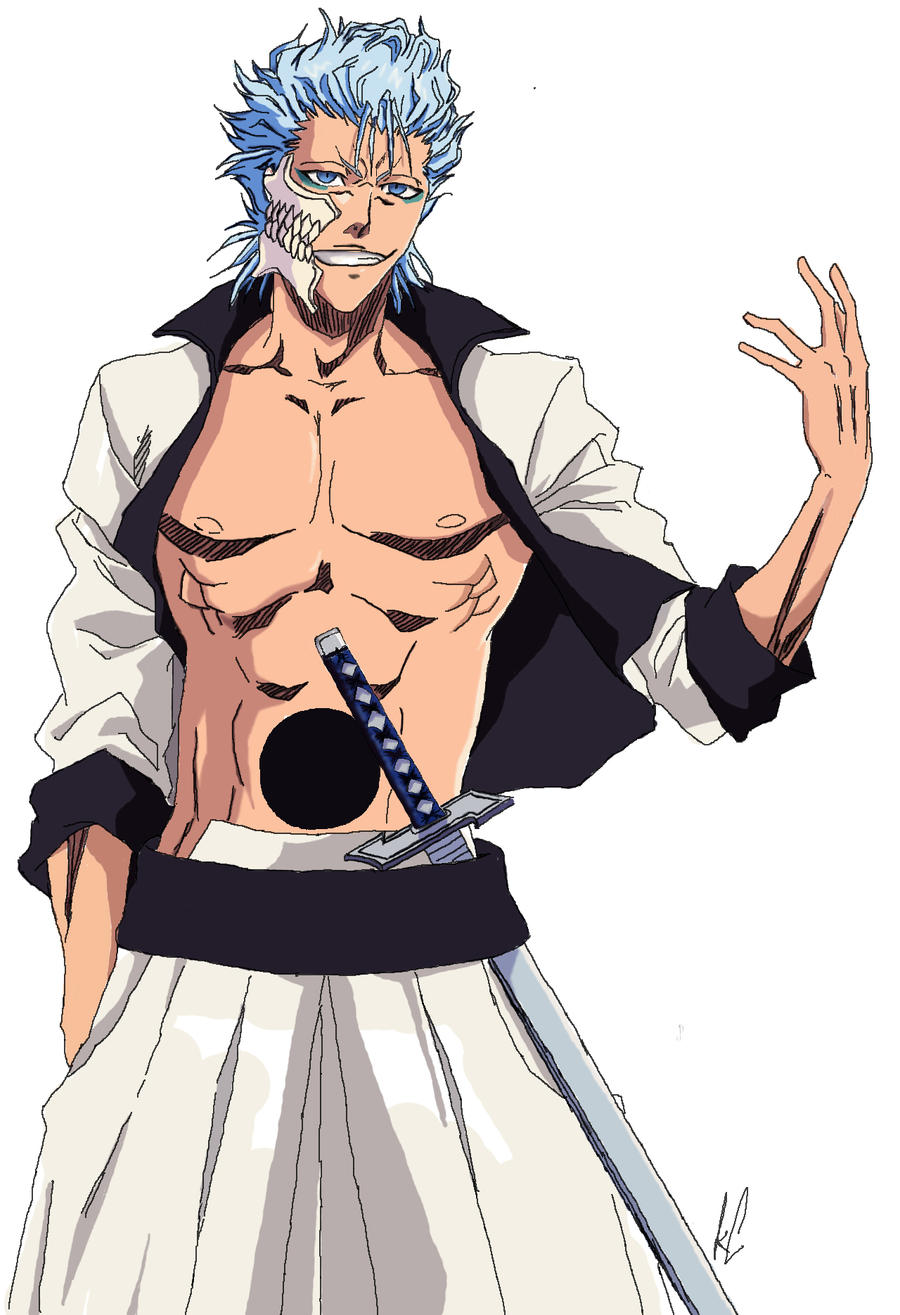
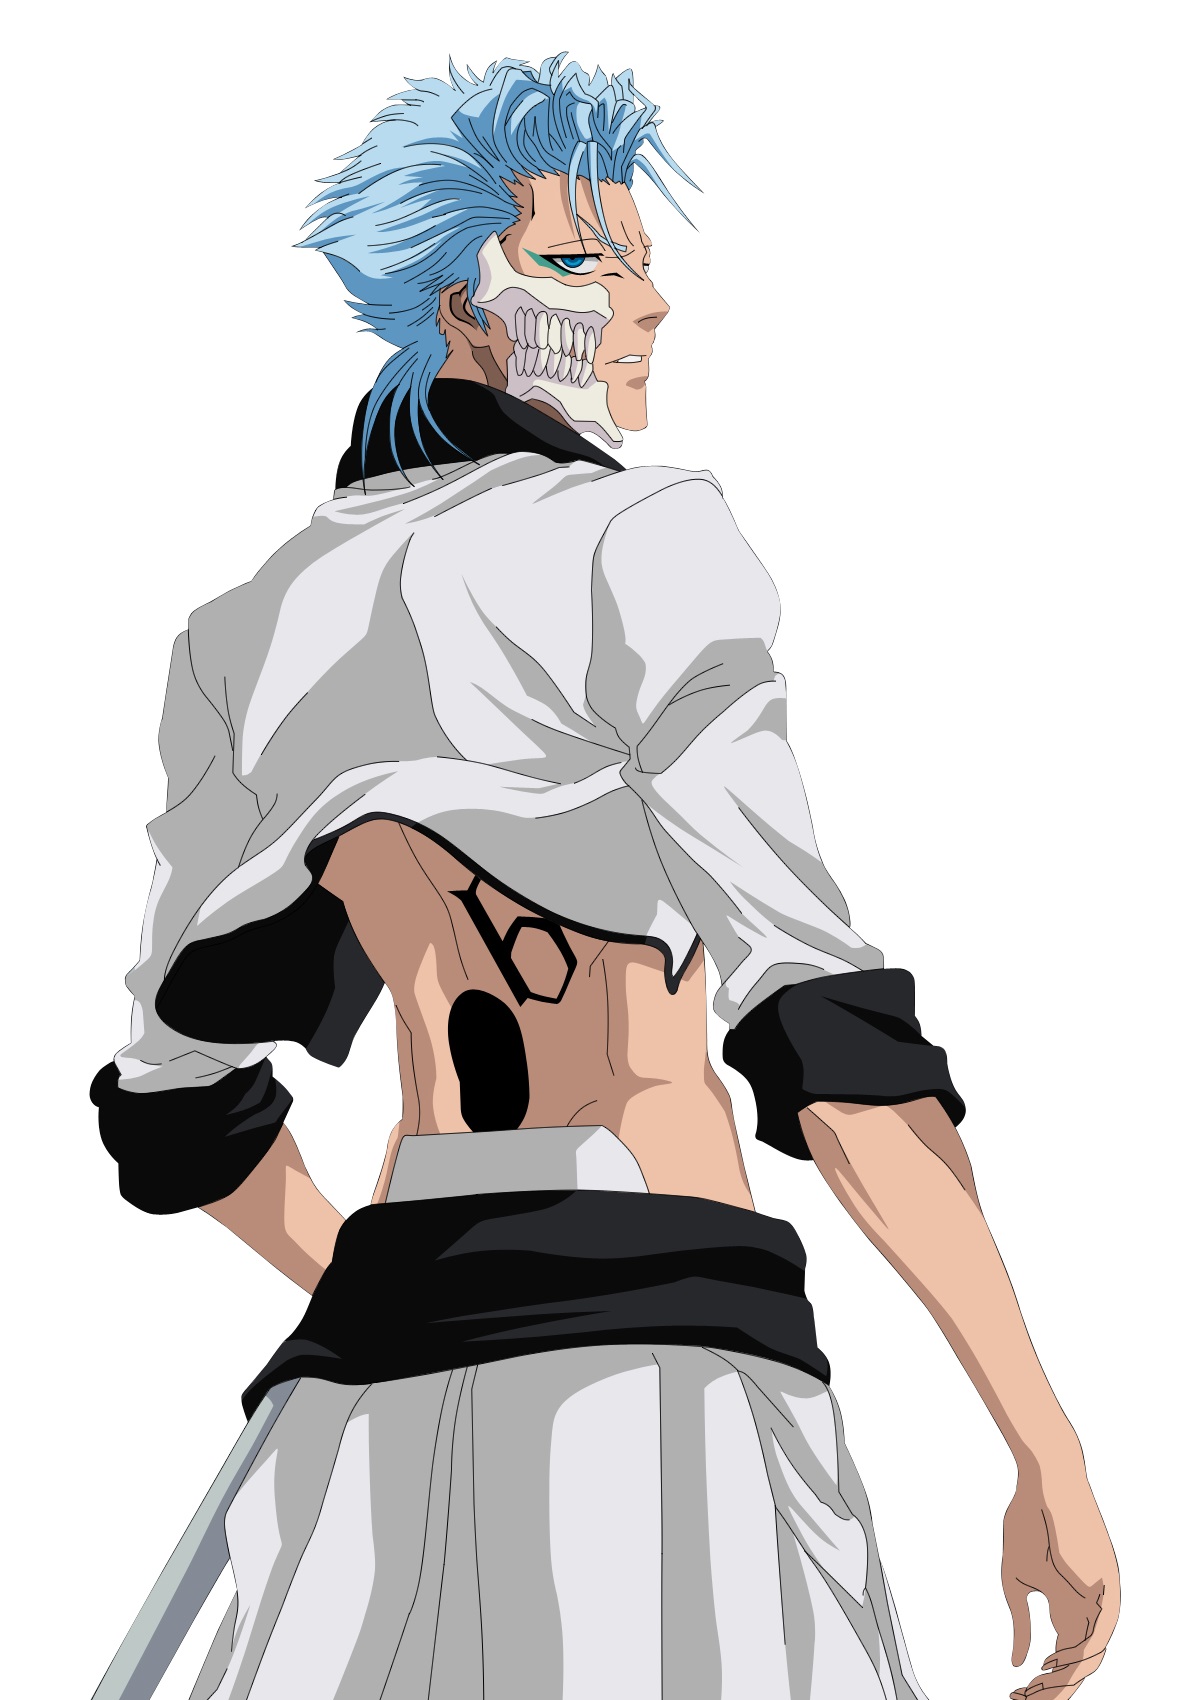
Grimmjow Jaegerjacquez source image from animeGrimmjow back view
The most exciting challenge for me was the fact that he has a hole through the middle of his body. A fact that reminds me of Existenz (1999) a film where people get a hole in their back and jack into some kind of gaming network.  It's not at all the same but every time I was planning this aspect I kept being reminded.

I was going to photograph the process but as the hole through the middle involved a black tube of felt attached to one side at one point at around the middle of his body... I leave you to guess why I didn't.

Anyway, I was a little nervous because I had to guess how wide his body would be and therefore how long the black tube would need to be but fortunately I guessed OK.  Essentially in order to be able to turn him right way out after sewing the two sides together I had to leave one end free. Once the right way out I could then attach the far end of the tube. Then, to stuff the doll I left a pole through the hole so that it didn't collapse while I stuffed the body.

I can't photograph in a way that shows you that you can see through the hole but it's kind of cool.

Grimmjow stage one - body is complete including "Hollow" hole - front view

Grimmjow stage one - body is complete including "Hollow" hole and 6 tattoo - rear view
The next stage was the short jacket. The description on the wiki says a turned up collar and the sleeves rolled up, white, with black lining.

I'm not good at lining things so I tend to just line each piece and then turn them inside out and attach.
Grimmjow stage 2 - jacket left sleeve complete, right sleeve to be sewn
Unfortunately this meant somehow the sleeves were too exact to roll up but I still like the effect.
Grimmjow Jaegerjacquez complete with jacket
Hopefully the new owner will like it too! They liked stage 1 (without the jacket) so here's hoping.

Saturday 9 April 2016

And just like that, it's over...

Once all the pages were complete bar the cover, I took the whole lot to my Mum's because I don't own a sewing machine and I don't want one. She kindly sewed round three sides of the pairs of pages, which I then turned right side out and sewed together in groups so they would line up. While she did her sewing machining I did the final touches on the cover, which she then kindly sewing machined round as well.

Early stages of compiling the book - two sets of pages are grouped and sewn and the cover is ready to be attached


I then sewed the groups together giving me the central pages. Finally I sewed on the cover.
Final book - Kindergebet = Children's prayer

The title says "Kindergebet" or Children's prayer.

Finished book - open to page 1 - happily ever after!

Friday 8 April 2016

Page 8 - Ribbons and hearts

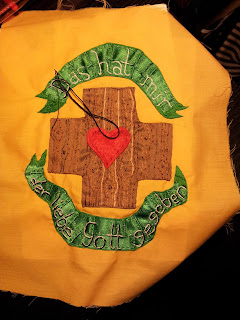
This last page has one of the simplest designs of the whole book both in terms of the details, but in terms of the shapes being large and easy to appliqué... well mostly. I had a debate about whether to cut out and hem down the shape of the ribbons or use actual ribbon. In the end I decided I would use actual ribbon. Folding the ribbon and pinning it in place to the right shape is fiddly but not so annoying as hemming curving shapes can sometimes be.

The design of the cross is based on the Dehonian cross I first saw when I went to World Youth Day in Madrid with a Dehonian group.

I had fun creating a wooden pattern on the cross. before adding on the heart.
Page 8 - Most of the design and embroidery complete, just some of the writing to finish

Once I added the writing in white, I felt like the writing didn't stand out enough. so I decided to add shading in black.
Page 8 - more or less complete, adding on dark shading to lettering

With that the design was done.
Page 8 - Das hat mir der liebe Gott gegeben = That's what my dear God has given me
Now all that's left is the cover!

Page 7 - family affair

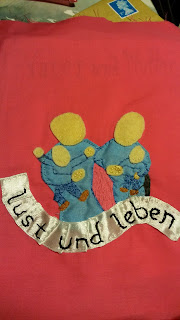
Unlike page 5 which was very much intended as a portrait, this page was only sort of a portrait in my mind, but ultimately that's what drove the decision making. It is a sort of family portrait, this mean that despite my design having the mother figure with a fringe, that disappeared during execution.
I also made an effort to change the face shapes to be a little more similar. The children are less portrait attempts as attempts to make children look like children.

From page to cloth also varies other aspects. In a line drawing in pencil you can get away with a general sketched shape for the combined bodies of both parents, but once you put down the appliqué it made the two parents look a little odd - not just huge but wrong shaped blob combined body.

Early stage of page 7 - applique done and some of the embroidery in progress
So I redrew the bodies of both parents on the reverse and then filled in the bit in between with embroidery. I also found that having them top to toe in one colour blue just looked odd. So I chose some darker colours for the trousers and filled these in with embroidery as well.
Page 7 with further details embroidered including facial features and hair.
I did debate putting the upper words onto a second ribbon but due to the transparency of the fabric the ribbon would have had to cover the original word placing which wasn't what I wanted to do so I stuck to the original design.

Page 7 final design: Vater und mutter, lust and leben = Father and mother, love and enthusiasm
The final decision was to add white shadowing to the upper letters to make them stand out about.

I'm not entirely convinced by the "Dad" haircut, but overall I rather like the design. and how it came out.